Thursday, December 20, 2007

Altered Tiny Paper Mache Box


I covered this tiny box with an old book page then music paper. The angel is hanging from a loop which is screwed into the bottom. I get my old vintage buttons from a great lady at the local flea market. She has hundreds of fun old buttons. This extra gift is hanging on a Christmas gift bag with a matching tag.

Whimsical Jars


When my friend Susan at (ilkasattic on my links) created little scenes on top of baby food jars, I had to try it. The rose covered top is an old canning jar. I filled them with my peanut butter balls or crafting goodies and gave them away for Christmas gifts. I spread glittered snow on the jar top, house and tree then sprinkled with "twinklets" for extra sparkle.

Wednesday, December 12, 2007

Christmas Paper Mache Box


This paper mache box is my mom's birthday present. Since it's before Christmas, I decorated it for her Christmas home decor. Inside are these treasures to decorate her bedroom and a special Promise book. For the box, I used paper, acrylic paint, stamping, a high gloss spray for a finish. For the holly leaves, I found a jar of Twinklets Diamond Dust. It gives an extra sparkle for the holidays.

Monday, December 3, 2007

Postcard Art Cards


1914,1915, and 1916 postcards. I wanted to do more with my collection. Inspired by some clipart, I decided to display these great cards without altering them at all. Each card is slipped into a page protector so the cards are removable. On the front of each protector is a leaf sprayed with a glaze. Included are some hydrangea flowers and stamps also sprayed with glaze. In August I posted a 1909 postcard that I had altered. That one is my favorite.

Friday, November 30, 2007

Milk-Resist Stamped Horse Card

This is one of my creations from my milk-resist stamping technique shown in October. I found this great picture of my mother on a rocking horse next to her backyard fence and very faithful dolly. I had this scanned for a very unique Christmas card for her.

Saturday, November 17, 2007

Whimsical Angel Bottle


This sweet little angel sits on top of a bottle of charms. I love the fall colors so I applied a little designer leaf in the creases for a colored gold leaf finish, set him on top of a leaf and added some glass leaves to wire. The bottle top is wrapped in ribbon. I was inspired to decorate a bottle to to this extent by my good friend Susan (Ilkasattic)...her art is alot of fun.

Friday, November 2, 2007

Horse Scrapbook Lay-out


I have also been busy trying to keep up with some scrapbooking. I am pretty far behind at this point but once I get going on a theme, it's pretty fun. Here I included a home-made clay seal with a horseshoe (earring), some metal, jewels, and laser cut photo corners (some are cut up for smaller pieces). The paper in the right bottom corner is a textured scrap piece of wallpaper that I painted to look like the blanket on the horse.

Monday, October 29, 2007

Milk-Resist Stamping


This technique is one I have wanting to try since the last Nov/Dec 2006 Somerset Studio magazine came out. In it was a great article on "milk-resist" stamping. It came out great. The concoction of milks is very sticky to work with but comes out very nice on cardstock. I attempted to use it on acrylic painted papers and chipboard but it didn't work at all. Basically, you stamp images on paper using 50% skim milk and 50% sweetened condensed milk. Then after heat drying, I sprayed it with a walnut ink spray and wiped immediately. These will be used for making tags and cards. Stay tuned.

Monday, October 22, 2007

Glass-Like Tags


I was inspired by an article in the June 2005 Creating Keepsakes magazine to use clear epoxy for beautiful glass-like finishes to tags. Especially to preserve dried flowers. And using jewerly hangers seemed even more fun. So then, of course, I wanted to see what else I could epoxy. The round chipboard has been painted, stamped and has a dried flower (Queen Ann's lace) sealed with epoxy. The layered top daisy like-flower was stuck in the solution while still wet. It will be the top cover to a chipboard minibook I am working on. It is messier than utee, of course ,but I love the results and there is no chance of burning the flowers. I started with cut outs I made from the clear photo protectors. Transparancies would be stronger. Lightly glue the dried flowers, allow to dry then the layers of epoxy won't make the flowers "float".

Sunday, October 14, 2007

Baloo,My Chocolate Pup

My chocolate lab will always be in my heart. We lost him last spring before his eighth birthday. It has been a one and one half years but we still miss him. This keepsake is very rustic and compliments his beautiful color. It's made out of a cork placemat with a hard laminate top. I just used gesso and had a nice new "canvas" to work with. I then blended the autumn acrylic colors until I liked the outcome, inked the whole top with copper and sprayed it with a matte acrylic sealer. The 5 rectangles are painted chipboard. I used wire, beads, utee, metal strips and letters. Hanging from the left bottom is his tag hanging by a small piece of cedar bark. The whole board itself is hanging from a piece of cedar bark that was dried and flattened. I have since then made another one for my best friend with a picture her black lab. Very fun to make!!!

Sunday, October 7, 2007

Fairy Tale Homemade Frame


I had fun last spring making this homemade frame. And of course, this great paper was my inspiration. This is a picture of my girls last fall in their sweet fairy costumes. I had to do something special with 2 of the pictures I took. This weekend I finally made the frame for the 5x5 picture shown below this post.

Fairy Tale Frame


This is another version of my homemade fairy tale frame. This one is 9x9 to accomodate a 5x5 picture. I start with a piece of foamboard and made the cuts with a zacto knife. Then I covered the edges with cardstock and ink. After those steps, it was ready to add the paper; torn, cut or cutouts added great effects along with inking. The pictures were covered in page protectors cut to fit. Then I attached each picture to watermark paper which then easily attaches to the back of the frame.
I am thinking about spraying FolkArt's glaze onto the frame assuming it will wipe easier when needed. Any thoughts on products??

Monday, October 1, 2007

Angel Minibook


Angel MiniBook

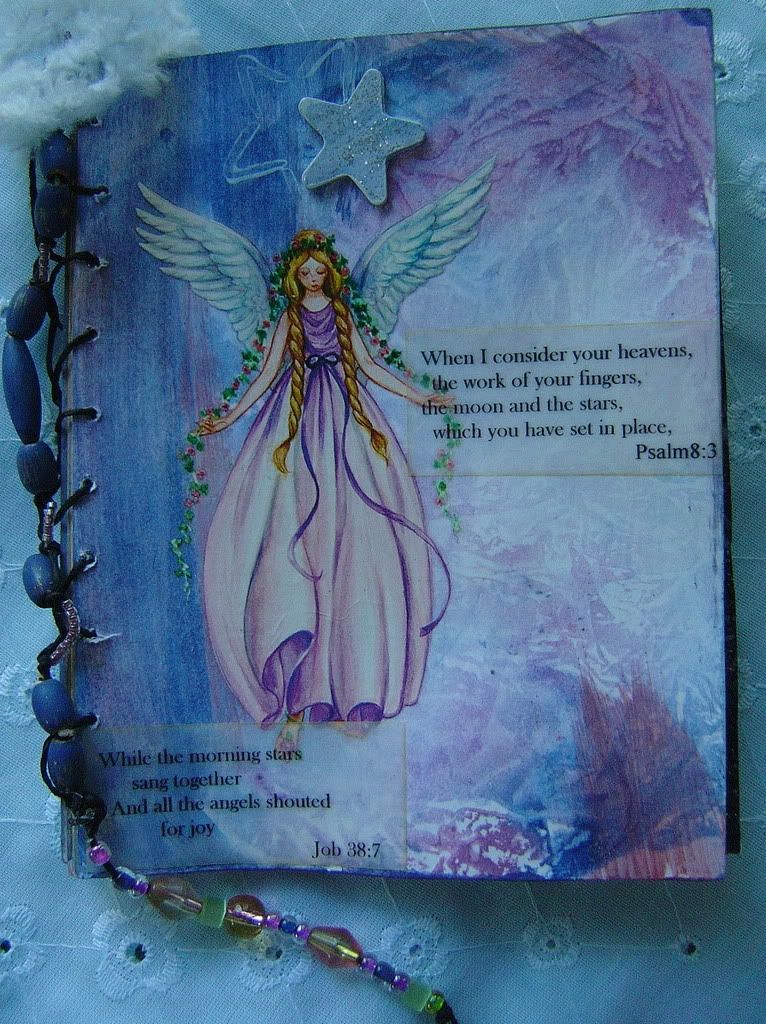
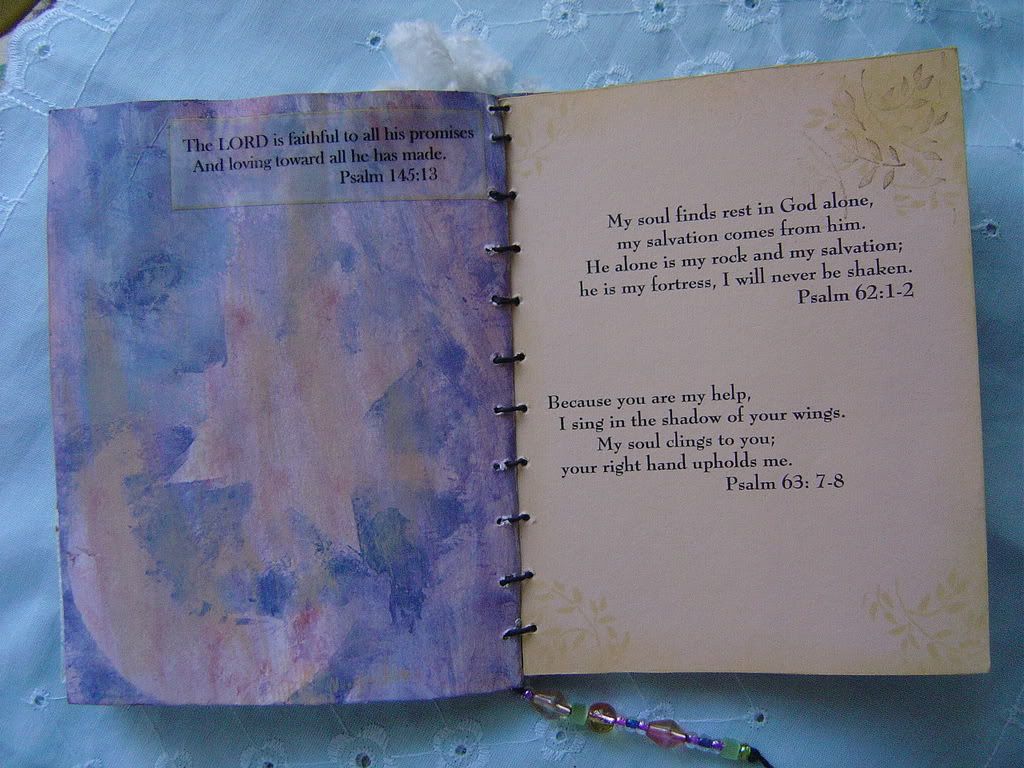
This is a sweet little mini-book I made for my youngest daughter who is now 3 1/2. She has always been fascinated with the moon and stars. It measures about 4x5 inches and is made out of altered paper. I used watered down acrylic paints, stamps and added some texture with salt and glitter. There is a wooden star on the front and back pages. There are only 6 pages inside but many Bible verses describing God's unfailing love for us and how he knows each and every one of us. The reference to the moon and stars are especially for my daughter. I want my girls to know Gods character much more than I did as a child.

Saturday, September 29, 2007

Quote Mini-Book


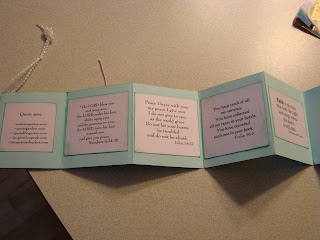
This mini-book measures about 3x4inches and simply holds quotes about family, friends or sisters and holds special verses from the Bible. The front I decorated with lots of beads/jewels and hangs by a pearled loop. I made it for a scrapbooker friend for her birthday. She and I have been great friends since grammer school.

Thursday, September 27, 2007

Textured Gift Box

This was a fun project. This is an 8x8 cardboard box, or at least it was!! It's now textured, painted gift box for a 6x6 minibook. I used gesso for the bottom but for the sides and top of the cover I used plaster. Plaster was fun to work with in last project, the matte for a frame, posted in Aug., that I thought I would use it again. This time I stamped into it while tacky. After it dried, I painted it then after drying, I dragged a stamp pad across it to accentuate the raised designs. I love that is looks like metal. The top is textured with a sheet of drywall sand paper also pressed into the wet plaster. I then painted a piece of this material to be the background of the stencil which is the last name of the family this gift is for. Inside the stencil is sand covered with a high gloss thick sealer. The box coordinates with the minibook which is all about our shared family vacations from the last two summers.

Monday, August 20, 2007

1909 Postcard, Art Card


I found a treasure in my husband's late grandparent's house. A box of vintage postcards. Many were from 1906 up to 1940's. (One was dated in the very late 1800's, how cool). One I framed untouched. This one I decided to have some fun with. I love how they are embossed so I left it unprotected. With past projects I would use cut page protectors or mylar. I added the 4 shells on the banner to compliment the theme of the card. Then I used a matte to attach it to an old bookcover that also belonged to his grandmother. My next project with these postcards will be to frame a few with the memo side showing. Maybe using transarencies so each side can be viewed and protected. (Still thinking about that one).

Tuesday, August 14, 2007

Altered Picture Matte

I bought a lovely frame with a 14X30 matte. The problem, the matte. You can't find this size matte with 8X8 openings. This matte had 8X10 openings. I thought, no problem, I'll alter it or just purchase another matte. Well, I decided to just purchase a matte, but a double matte is around $70. "Well then, I'll just dive into this challenge". I almost gave up a couple times. I was afraid of it looking cheesy. Well, about 3 weeks later, (2 children at home and a vacation)this is the finished design. And I really like it. Now the next step will be if it looks OK in the frame with the 3 pictures of my 2 lovely girls.

I took one inch scrap pieces of matte board for the top and bottom of each opening. To hide the "piecing together" I started using gesso but it just wasn't thick enough. But my husband's sheetrock plaster was. I finished off with the gesso and kept some texture. I also used the gesso to lessen the depth of the 1/4 side of each opening from the original double matte inside edge. I mixed up some colors of paint until I got the green I wanted. Then I sponged a very pale color on top of that then finished with gold ink pad to blend. To hide the depth inconsistencies of the sides I used 1/4 ribbon and finished with these great metal corners I found. I used colors that would compliment the frame and the room it will be in. Sure, buying a matte would have been easier but the challenge is what it's all about.

Wednesday, July 25, 2007

Altered Metal Picnic Basket

This metal picnic basket belonged to my parents and we used it as a family. It had been in my father's garage for many years, as were the jars posted in June. One of the wooden handles were broken off completely. I pondered the idea of keeping one handle but it wasn't the "new" look I wanted. So I removed it and added faux round pulls on the front. I really wanted to keep the metal orginal look so after the rust primmer and paint I put on designs with UTEE, ink, metallic paints, sheet metal and metal strips. For the feel for the seasons I wanted, each side has it's own theme. ( To see full view of any side, just click on "view show", then click on any picture during the slide show). The sides have metal running down the center to seperate the front from the back. The top is copper UTEE with stamped designs and a homemade clay piece. Just another way to hold onto my childhood and the "stuff" that cannot seem to be thrown away.
Wednesday, July 11, 2007

Family Collage

This is a very special collage I designed to honor our lives, our wedding 13 years ago and our loved ones. The journal envelope opens to list all the special items on this canvas collage and explains who each piece belonged to or why it is special to us. Our wedding invitation is centered within a pocket made from an old runner belonging to my husbands grandmother. The pearls and lace/pearl ovals are from my veil as well as the tulle around the edge of the whole collage. The floral piece covered with lace and the front of the journal is material also used in our quilt, a wedding present.